Steps to Claim Cashless Treatment in Tier-2 and Tier-3 City Hospitals
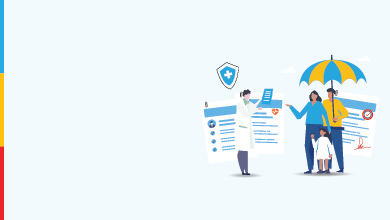
Navigating a medical emergency is stressful enough; understanding how to claim cashless treatment shouldn't add to it. Whether you’re in a Tier-2 or Tier-3 city, following these steps can help you access medical care quickly and efficiently without financial strain.
1. Know Your Network Hospitals - Before a medical emergency strikes, it’s wise to do a little groundwork. Start by identifying the network hospitals tied to your insurer in your hometown or nearby Tier-2 or Tier-3 cities. This list is typically available on the insurance company’s official website or mobile app. Some insurers even offer hospital locators with real-time filters for city and speciality.
Why is this important? Because cashless treatment is only available at hospitals that have a tie-up with your insurance provider. Visiting a non-network hospital means you’ll need to pay out of pocket and claim reimbursement later.
2. Carry Your Health Insurance ID Card - Always keep your health insurance ID card with you; it’s more important than you think. This card contains important details like your policy number and the contact number of your insurance provider or Third-Party Administrator (TPA). Hospitals require these details to initiate the cashless claim process.
In most cases, insurers also offer a digital e-card via their mobile apps. Make sure it's downloaded and accessible; in a medical emergency, every second counts.
3. Inform the Insurance Desk at the Hospital - Once at a network hospital, your first stop should be the insurance or TPA desk.
- For planned treatments, visit the desk 2–3 days prior to admission.
- In the case of a medical emergency, notify them immediately after reaching the hospital.
The insurance coordinator will help you fill out a pre-authorisation form, which includes:
- Patient details
- Policy number
- Preliminary diagnosis
- Expected treatment plan and cost estimate
This form is then sent to your insurer for approval.
4. Get Pre-authorisation Approval - Once the hospital submits the pre-authorisation request, the insurer or TPA reviews it. For emergency cases, most insurers have a fast-track approval system, usually issuing a decision within a few hours.
If the treatment is approved:
- You can go ahead with the treatment without worrying about upfront payment.
- The insurer will directly settle the bill with the hospital, subject to your health insurance plan limits.
If additional details are required, the insurer might request more documents or medical reports, so be prepared to cooperate swiftly to avoid delays.
5. Settle Non-covered Expenses - Even with cashless treatment, there are always some expenses that may not be covered by your insurance policy. These can include:
- Admission or registration charges
- Charges for consumables like gloves, syringes, or masks
- Extra amenities like deluxe room upgrades or special meals
- Attendant fees or miscellaneous service charges
It’s essential to review the hospital bill thoroughly and clarify which items are not covered. You’ll need to pay these costs at the time of discharge. However, keep all related receipts and invoices; some health insurance plans offer the option to claim partial reimbursement for certain expenses later.